QuickGuide: Using TideCloak (Admin Console Overview)

This guide will help you get started with using TideCloak by accessing and navigating its Admin Console. You will learn how to create realms, users, and clients, allowing you to manage identity and access control in your applications effectively.

Prerequisites

Before you begin, ensure that you have:

Docker installed and running on your machine

Setting up Docker

for pkg in docker.io docker-doc docker-compose podman-docker containerd runc; do sudo apt-get remove $pkg; done

#Add Docker's official GPG key:
sudo apt-get update
sudo apt-get install ca-certificates
sudo install -m 0755 -d /etc/apt/keyrings
sudo wget --output-document=/etc/apt/keyrings/docker.asc https://download.docker.com/linux/debian/gpg
sudo chmod a+r /etc/apt/keyrings/docker.asc

# Add the repository to Apt sources:
echo \
"deb [arch=$(dpkg --print-architecture) signed-by=/etc/apt/keyrings/docker.asc] https://download.docker.com/linux/debian \
$(. /etc/os-release && echo "$VERSION_CODENAME") stable" | \
sudo tee /etc/apt/sources.list.d/docker.list > /dev/null
sudo apt-get update

sudo apt-get install docker-ce docker-ce-cli containerd.io docker-buildx-plugin docker-compose-plugin

#Test docker installation
#sudo docker run hello-world
Basic familiarity with Docker command-line interface (CLI).
Internet connection.

1: Starting TideCloak with a Test Configuration

With Docker installed, you can start a TideCloak-Dev container that already includes all the basic configuration and settings to get you going. All you need to get it is to open your Docker/WSL/Linux terminal and run the following command:

sudo docker run --rm -p 8080:8080 -e KEYCLOAK_ADMIN=admin -e KEYCLOAK_ADMIN_PASSWORD=password tideorg/tidecloak-dev:latest
  • --rm: Removes the container from memory once stopped.
  • -d : Run container in the background. Using this switch will prevent you from seeing the console output during the initialization and running of TideCloak, so it wasn't included in the example above.
  • -p 8080:8080: Maps port 8080 on your host machine to port 8080 in the Docker container.
  • -e KEYCLOAK_ADMIN=admin: Sets the admin username to admin.
  • -e KEYCLOAK_ADMIN_PASSWORD=admin: Sets the admin password to password.
  • tideorg/tidecloak-dev:latest: This is the Docker image being used. If the Docker image tideorg/tidecloak-dev:latest is not already stored locally, Docker will automatically pull the image from Docker-Hub repository before running the container.

A minute or two after running this command, TideCloak will start, and you can access it by navigating to http://localhost:8080 in your browser.

2: Activate your TideCloak license

To get your TideCloak host to connect with Tide's Cybersecurity Fabric, you'll need to acquire and activate your license. Tide offers free developer license for up to 100 users. To do that, you'll need to:

  • Access your TideCloak administration console
  • Log in using your admin credentials (Username: admin, Password: password, if you haven't changed it)
  • Navigate to: myrealm realm --> Identity Providers --> tide IdP --> Licenses screen
  • Click on the blue Request License button
  • Go through the checkout process by providing a contact email. Within a minute or so, you'll get your TideCloak host licenced and activated - AND THAT'S IT!

3: Testing with a dummy application

To confirm your host was successfully set up, you can use TideCloak's test application. That application simulates an example website using your TideCloak host as its security authority.

  1. Open the Test Application:
  2. Save the Default Configuration:
    • Click Save to use the default configuration provided by the testing application. No need to change anything for your TideCloak-dev host. It's already pre-configured with these parameters.
  3. Sign In:
    • Click Sign in to authenticate to this application using your TideCloak host.
  4. Use Tide to Sign In or Sign Up
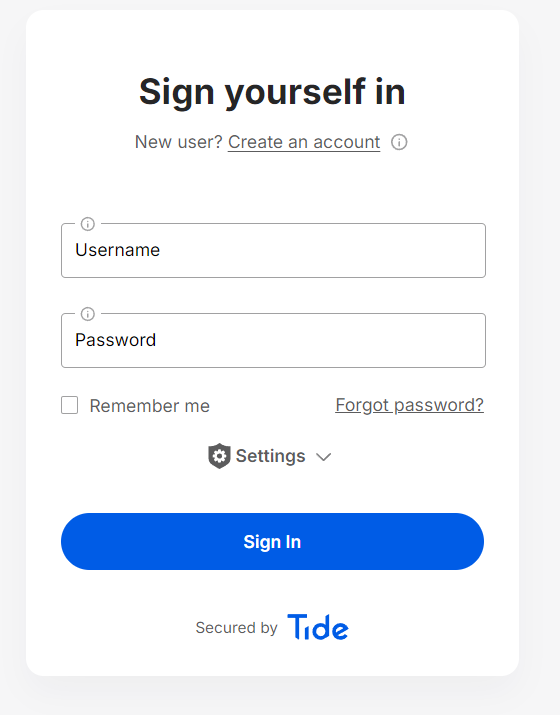
    • Tide's decentralized authentication portal will appear, allowing you to sign up with a new user, or sign in, if you have ever created one before.

You should now have signed in successfully to a dummy application using your TideCloak host.

🎉 Congratulations on successfully deploying TideCloak developer host with Docker! 🎉

You've just set up a powerful Identity and Access Management solution using Docker, giving you a flexible and efficient way to manage user authentication. Whether you're deploying TideCloak for development or production, you're now equipped with a robust environment ready for further customization and integration.

Optional: Managing TideCloak using the Admin Console

To manage your TideCloak instance, open your web browser and go to http://localhost:8080. You'll be prompted to log in with the credentials you specified earlier (admin/password).

Once logged in, you can start configuring realms, clients, users, and more.

TideCloak comes with a preconfigured realm and client to help you get started quickly. However, the steps below will guide you through creating a new realm and client from scratch, allowing you to customize the setup according to your needs.

a. Create a realm

What is a Realm? A realm in TideCloak is a high-level concept that groups a set of users, credentials, roles, and groups. Each realm is isolated from other realms and can have its own settings, configurations, and users. This allows you to manage multiple applications or services within a single TideCloak instance without them interfering with each other.

Steps to Create a Realm:

  1. Log in to the Admin Console:
  • Once you're logged in to the Admin Console, you can start by creating a new realm.

    1724482576251

  1. Create a New Realm:
  • Click on the "Master" dropdown on the top left of the Admin Console.

  • Click on "Add Realm."

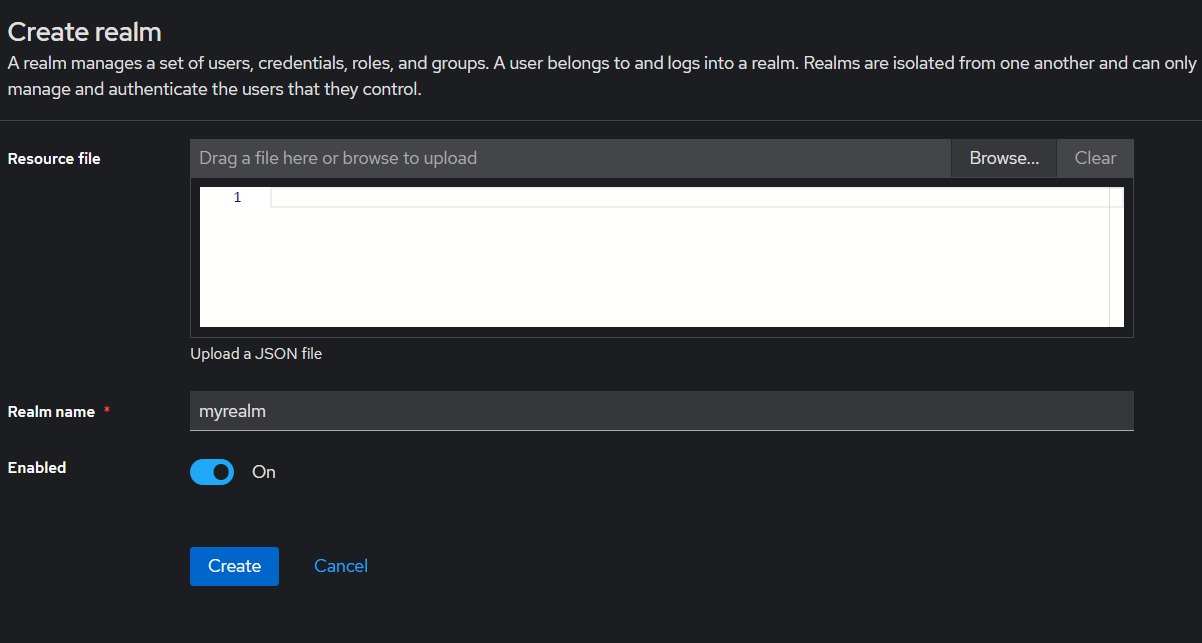
  • Enter a name for your new realm (e.g., "myrealm") and click "Create."

    1724482600348

b. Creating a User

What is a User?

A user in TideCloak represents an individual who can authenticate and interact with the services and applications managed by TideCloak. Users can have various attributes such as username, password, email, and roles that define their permissions and access levels.

Steps to Create a User:

  1. Navigate to the Users Section:
    • In your new realm, go to the "Users" section from the left-hand menu.
    • Click on "Add user."
  2. Add User Details:
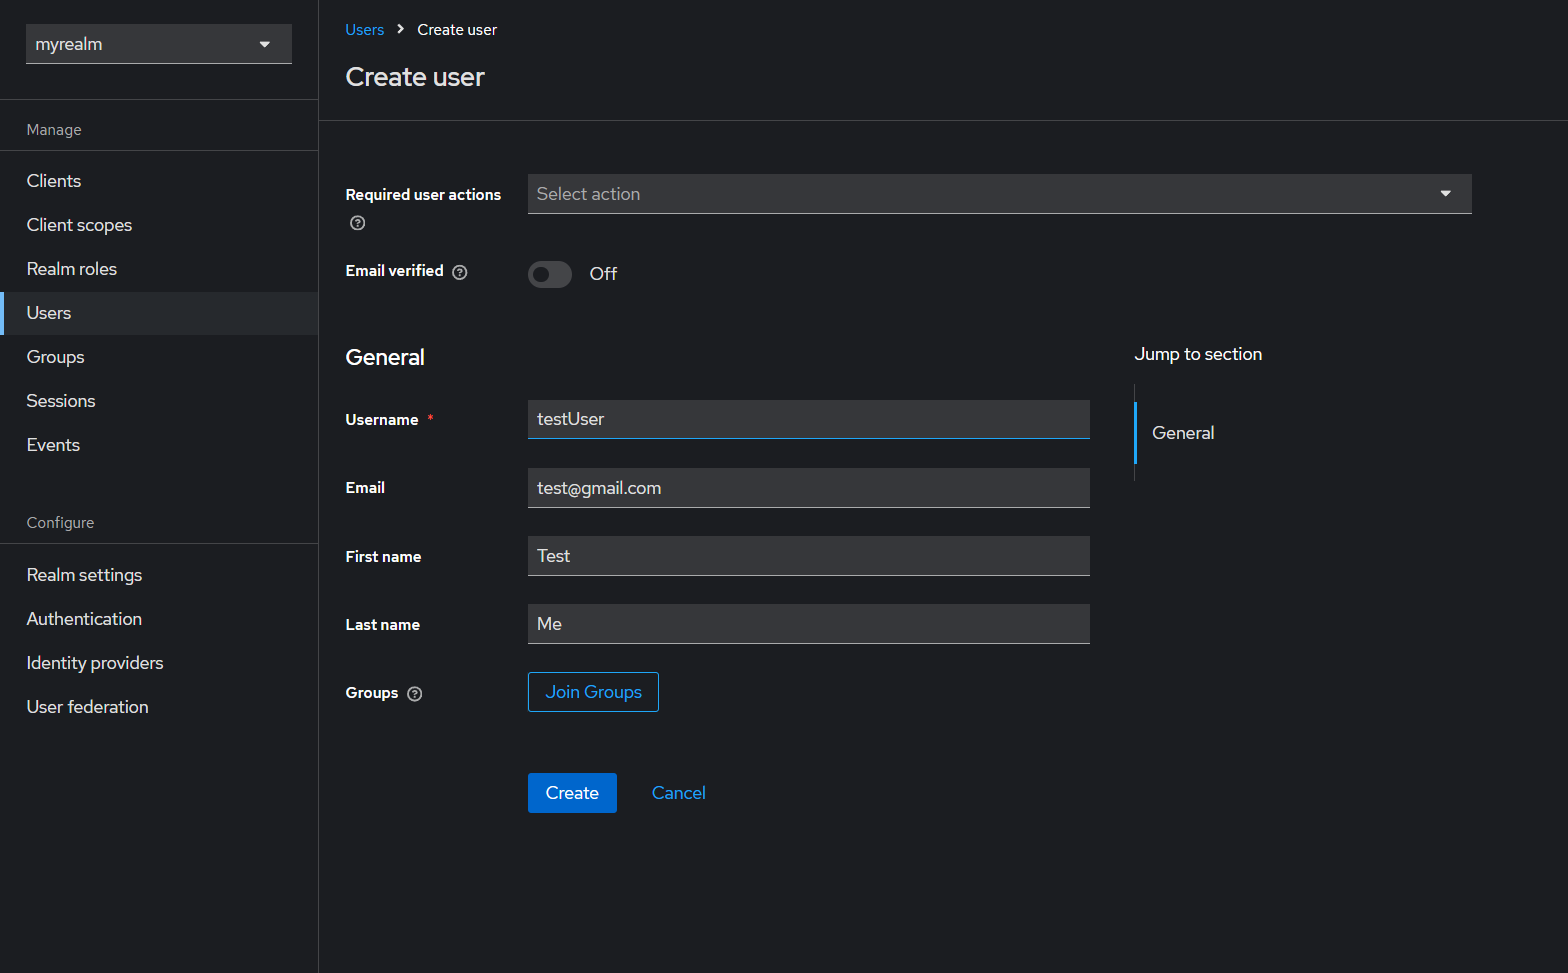
    • Enter the username, email, first name, and last name for the new user.

    • Click "Save."

      1724482748302

  3. Set a Password for the User:
    • After saving, go to the "Credentials" tab.

    • Enter a new password and toggle "Temporary" to OFF to set a permanent password.

    • Click "Set Password."

      1724482866266

c. Creating a Client

What is a Client?

A client in TideCloak represents an application or service that interacts with TideCloak to authenticate users. Clients can be web applications, mobile applications, APIs, or any service that requires user authentication. Each client has its own configuration settings, such as allowed redirect URIs, client secret, and authentication protocol.

Steps to Create a Client:

  1. Navigate to the Clients Section:
    • Go to the "Clients" section from the left-hand menu.
    • Click on "Create."
  2. Add Client Details:
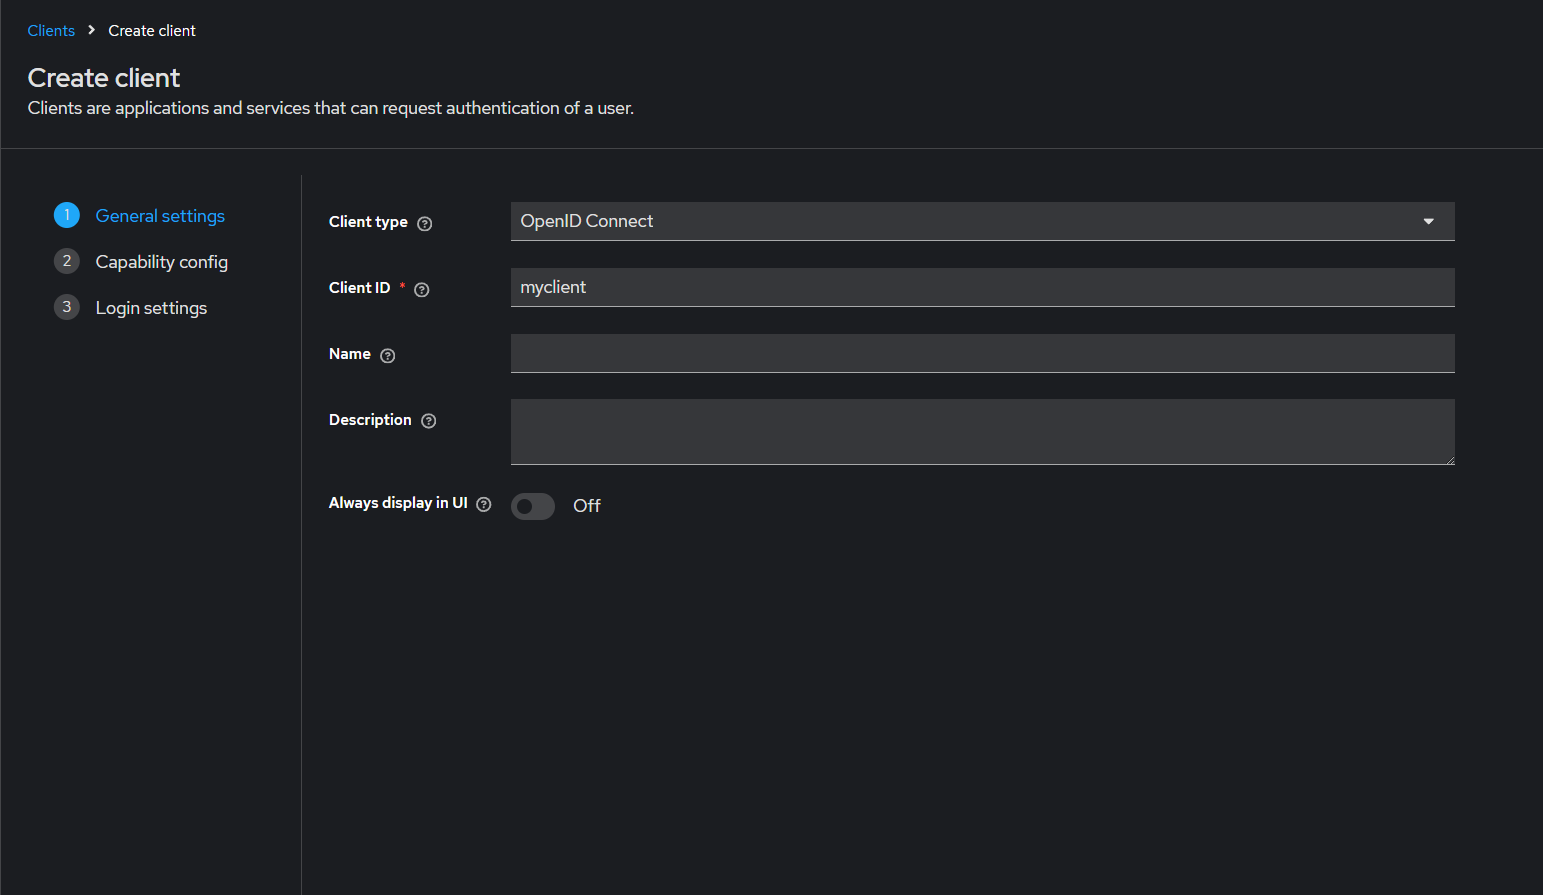
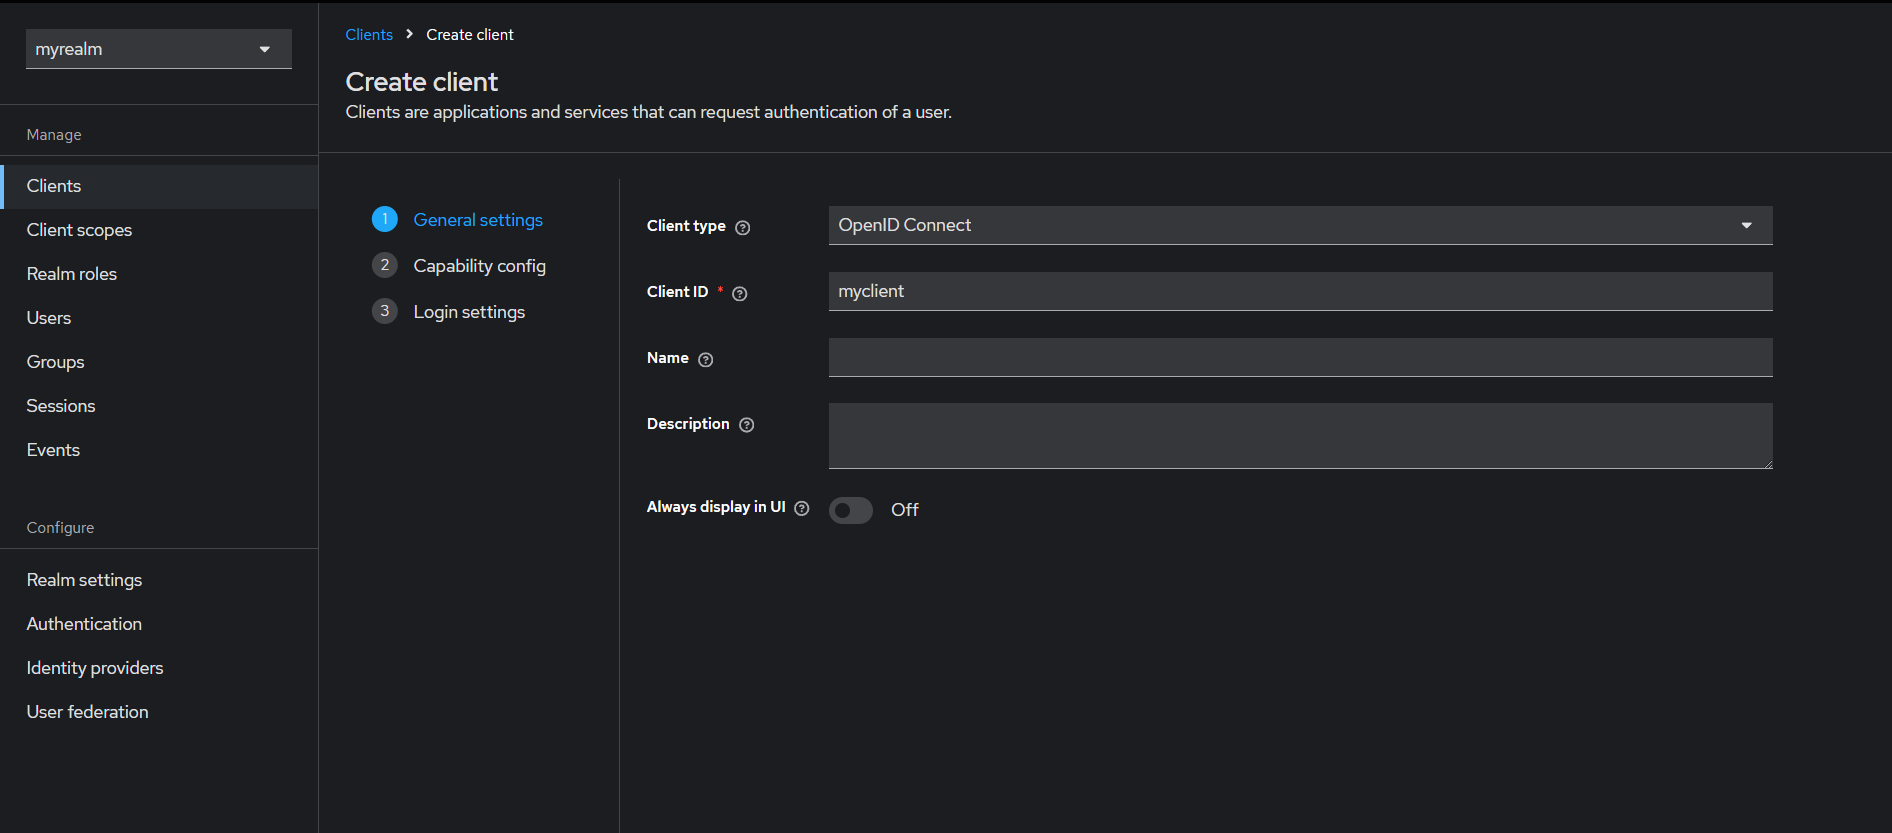
    • Enter a client ID (e.g., "myclient").
    • Select the client protocol (e.g., "openid-connect").
    • Click "Save." 1724483135927
  3. Configure Client Settings:
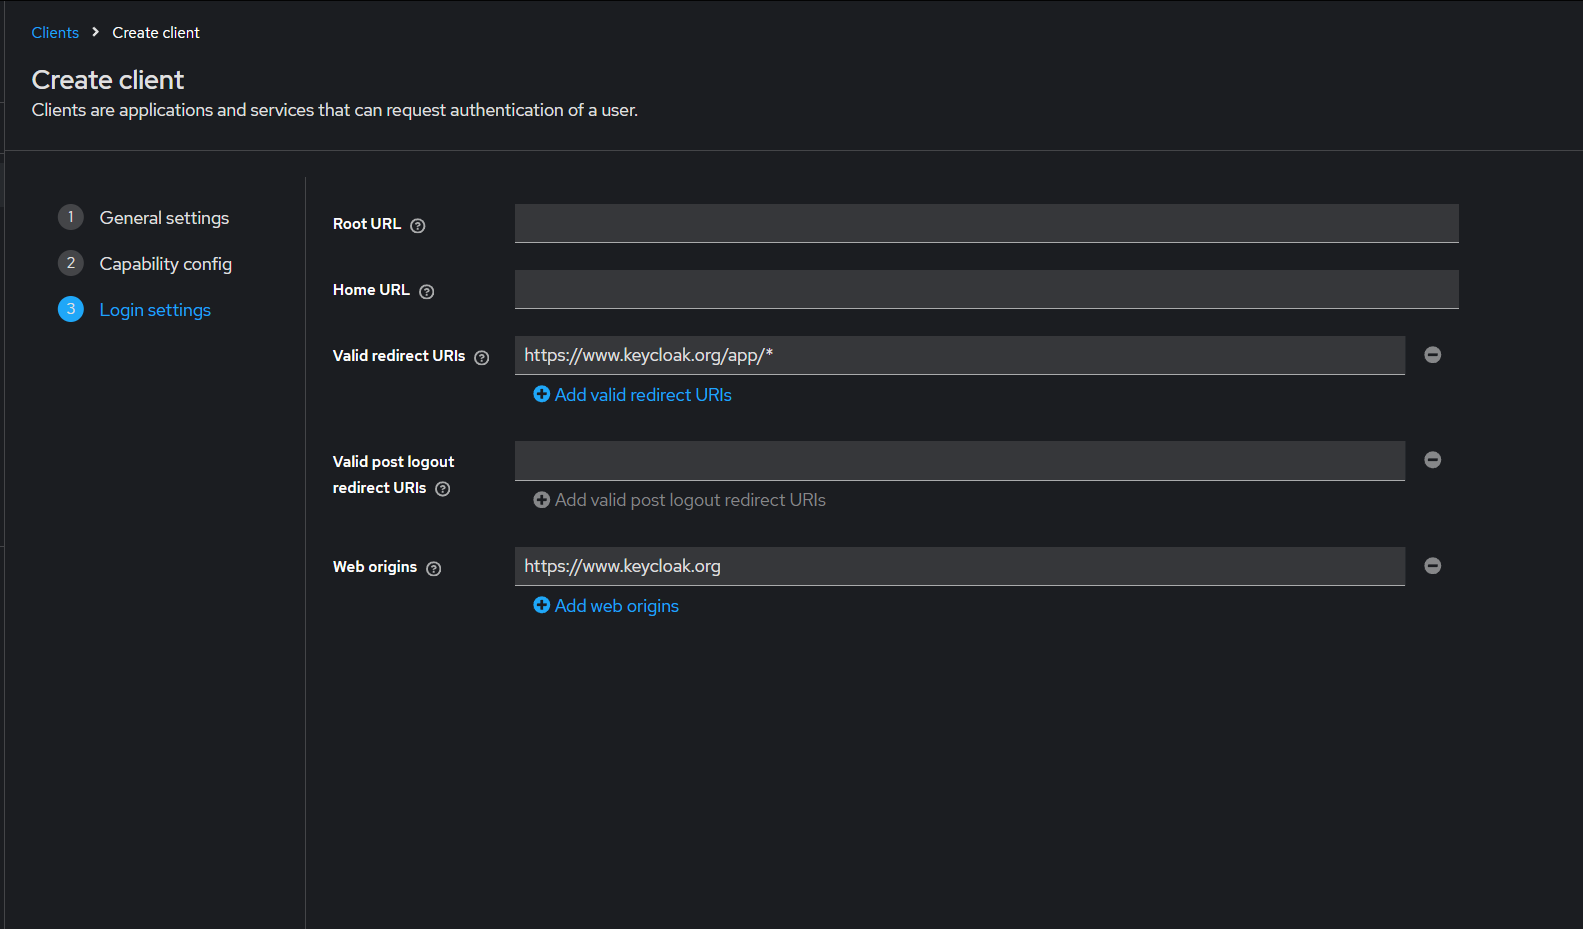
    • After saving, configure the client settings such as Access Type, Redirect URIs, and Web Origins as needed.
    • Click "Save." 1724484413240

Optional: Log in to the Account Console

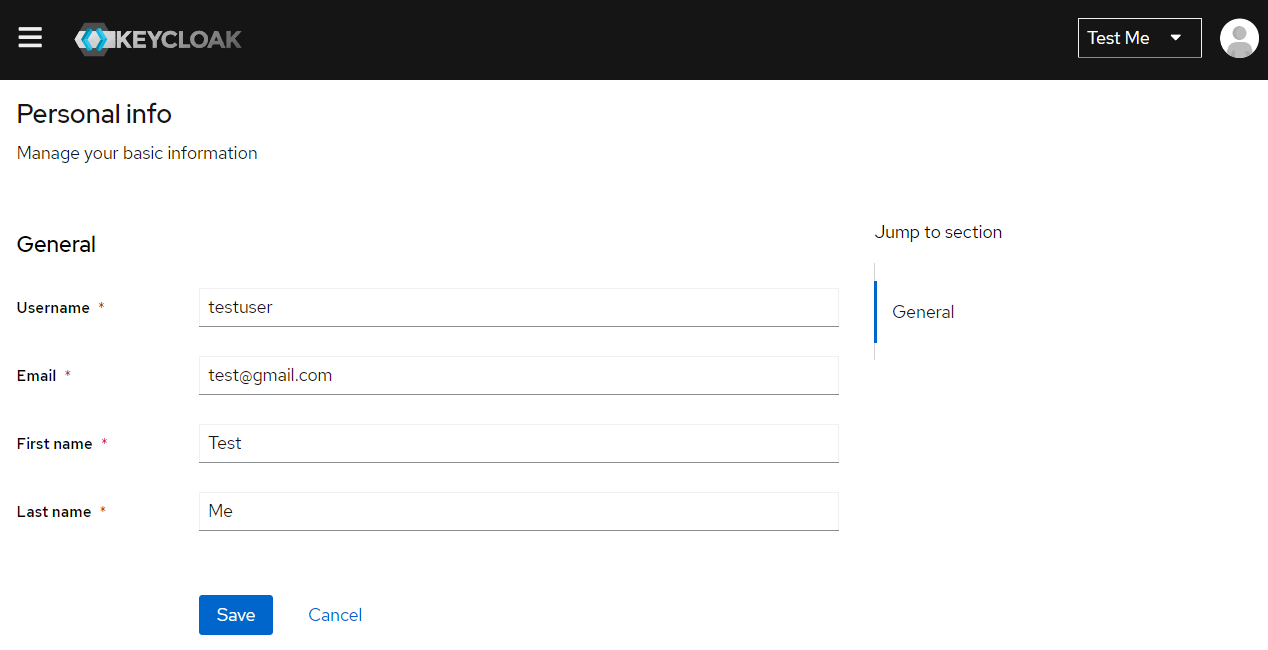
To further verify that the user is configured correctly, you can log in to the TideCloak Account Console as the user you created.

  1. Open the TideCloak Account Console:
    • Navigate to the TideCloak Account Console (For example, to access an account in the demo myrealm realm: http://localhost:8080/realms/myrealm/account).
  2. Log In:
    • Log in using the username (myuser) and the password you created earlier.
  3. Manage Your Account:
    • As a user in the Account Console, you can manage your account, including modifying your profile, adding two-factor authentication, and linking identity provider accounts.

      1724484572256

This step allows you to verify that the user is correctly set up and that they can manage their account settings within the TideCloak environment.

Optional: Create a Client for Tide Cloak SDK Integration

To prepare for integrating the TideCloak SDK's, you can create a dedicated client. This client will be used specifically for managing and authenticating users via the Tide Cloak SDK.

Steps to Create a Client for Tide Cloak SDK:

  1. Navigate to the Clients Section:
    • In the Admin Console, go to the "Clients" section from the left-hand menu.
  2. Create a New Client:
    • Click on "Create."

    • Enter a client ID (e.g., "myclient").

    • Select the client protocol (e.g., "openid-connect").

    • Copy the values in the image below to ensure the client is set up correctly.

      1724556844890

    • Click "Save."

  3. Configure the Client:
    • After saving, configure the client settings such as Access Type (e.g., "Confidential"), Redirect URIs, and Web Origins as needed for the Tide Cloak SDK integration.

    • Copy the values in the image below to correctly configure the client.

      1724556950693

    • Set any additional configurations required by the Tide Cloak SDK.

    • Click "Save."

This client setup will be ready for integration with the Tide Cloak SDK, enabling enhanced security and authentication capabilities in your applications.